The 5 Keys to an Efficient Product Photography Setup
By Patrick Weilmerier | Imaging Services
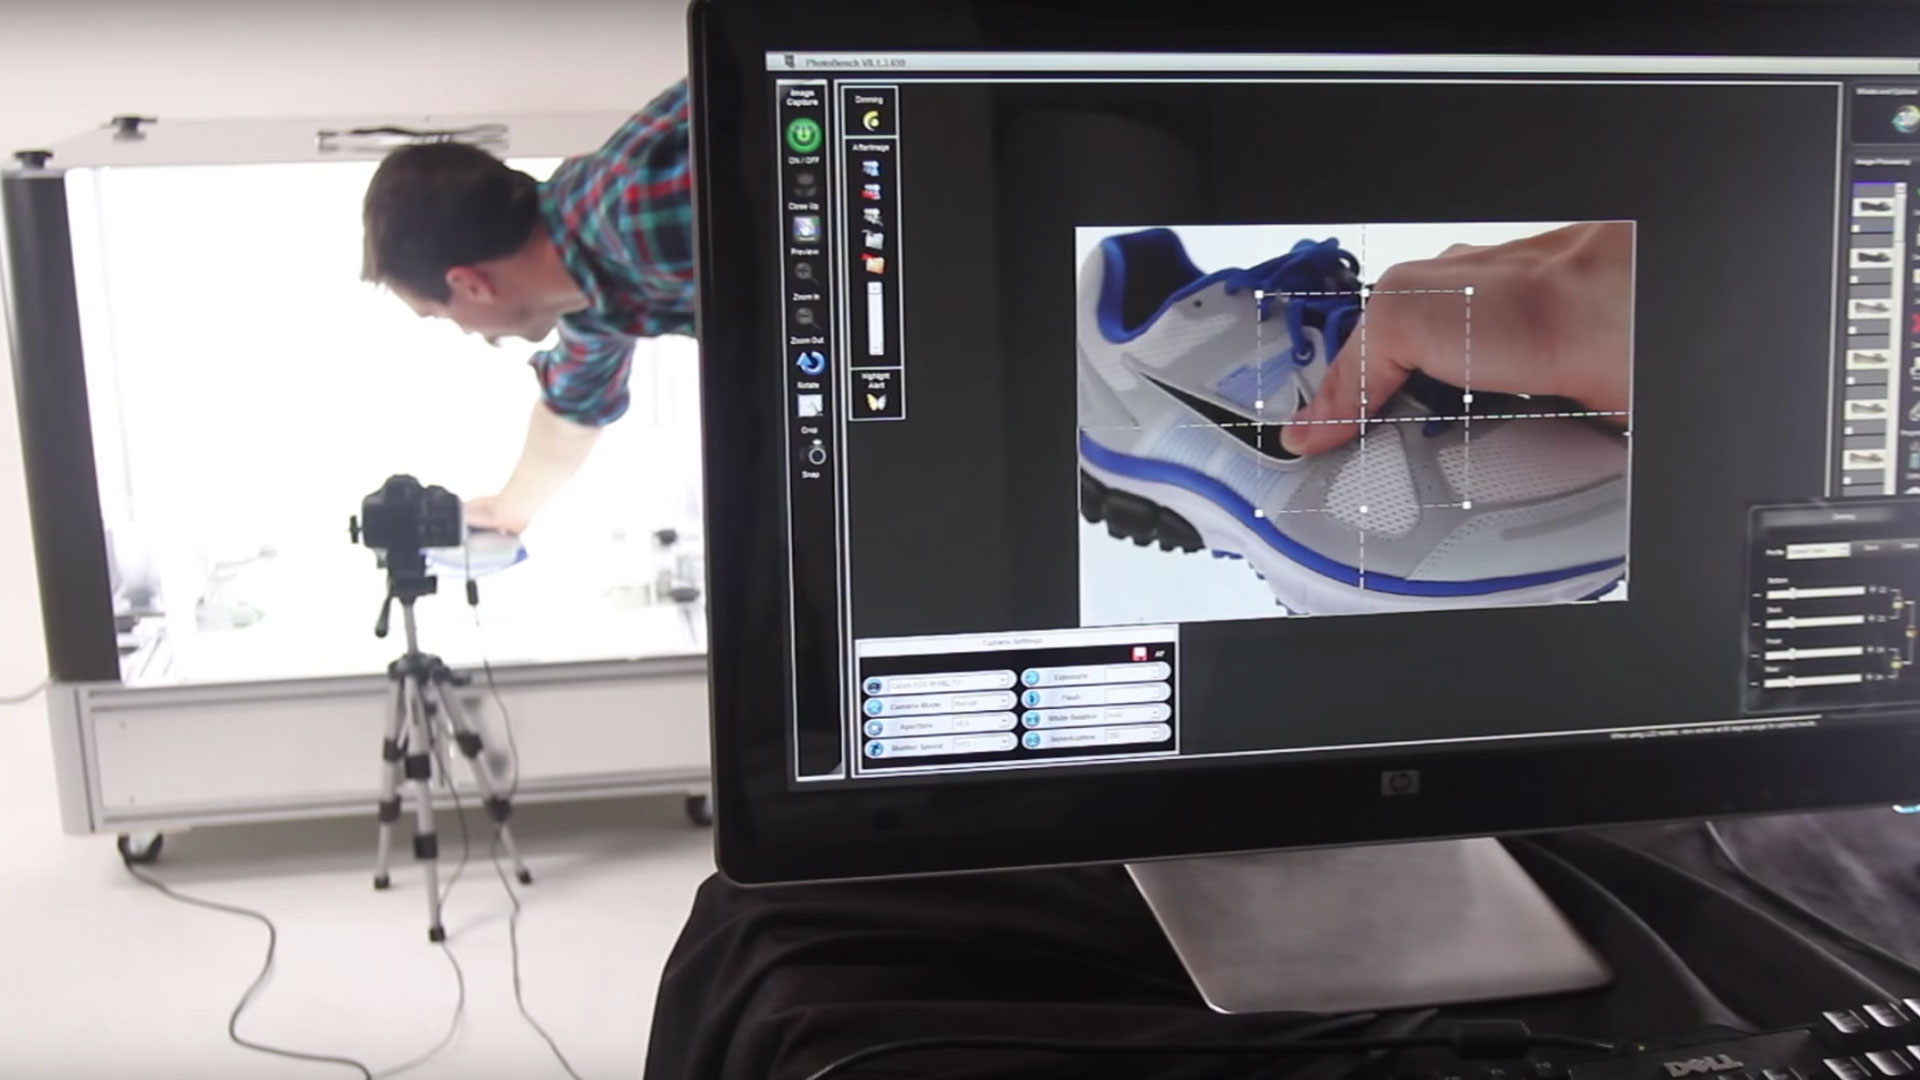
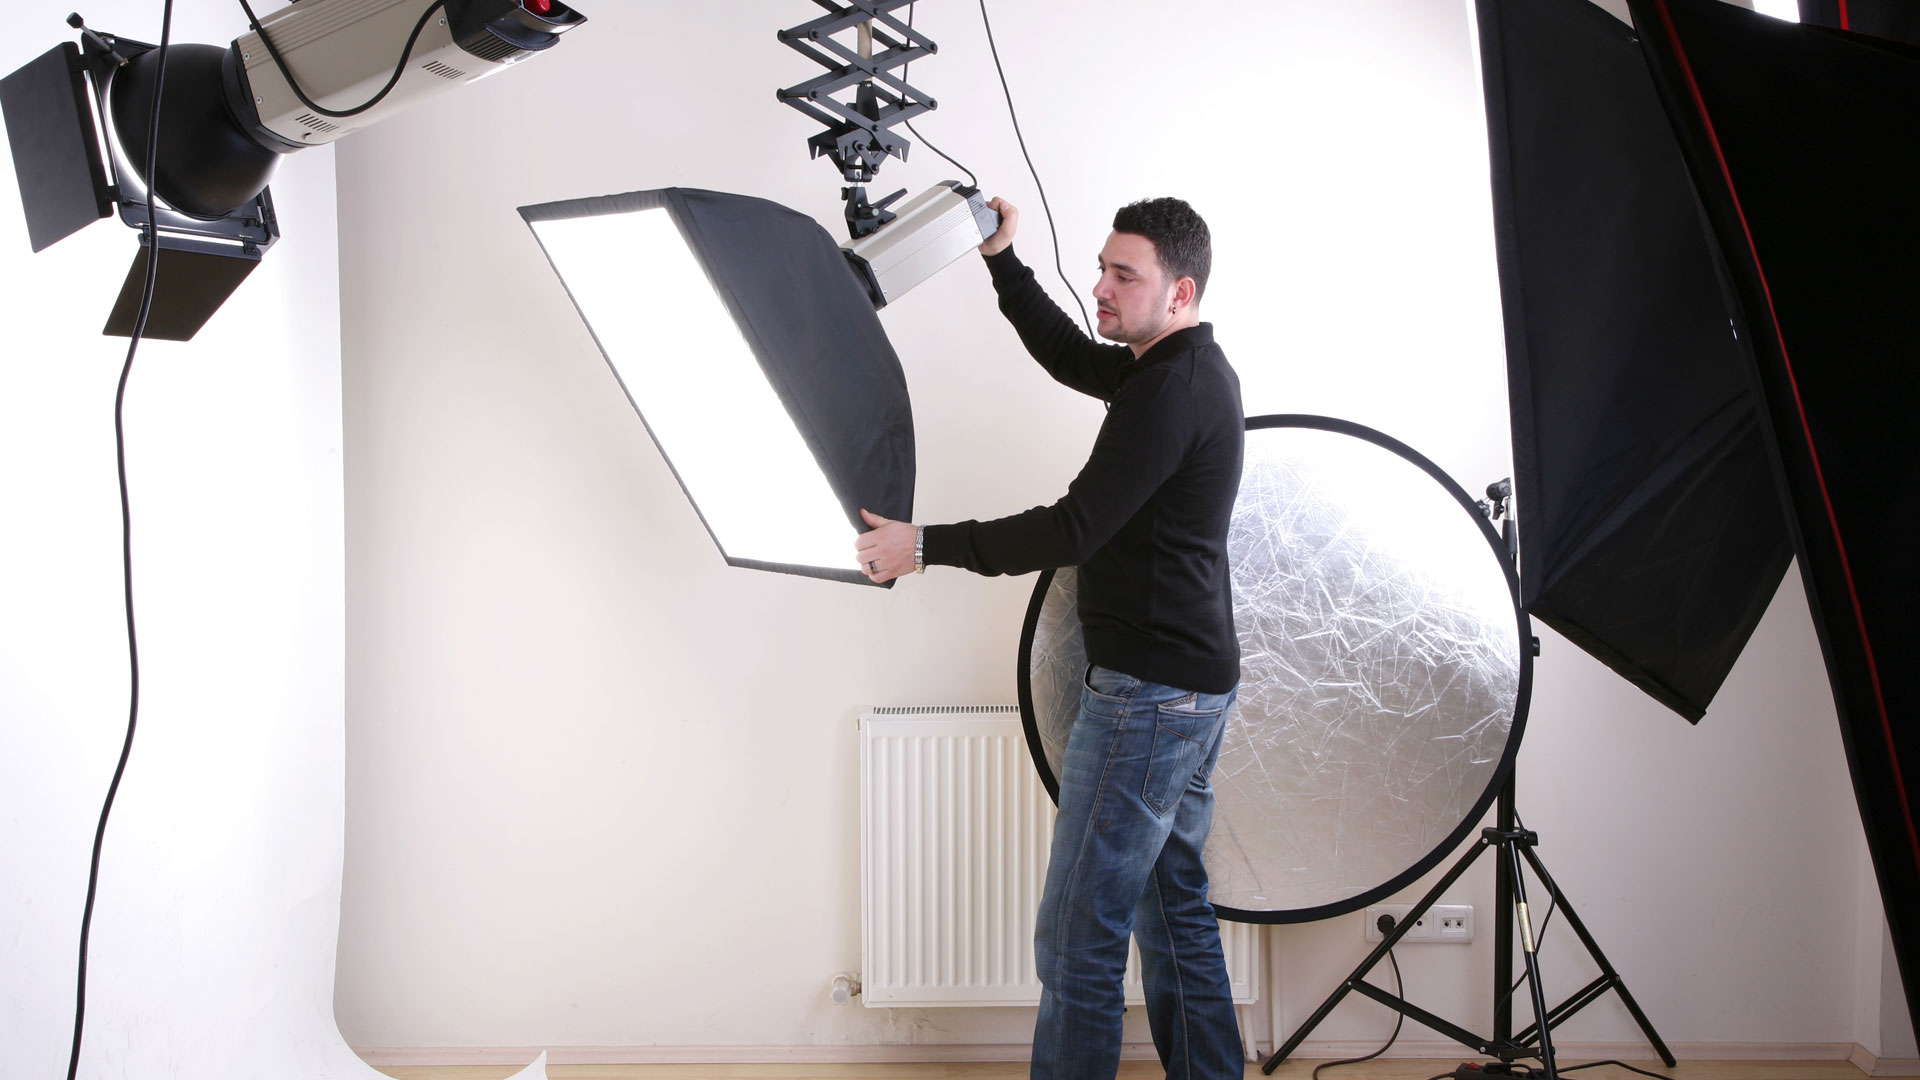
This post reviews the 5 key components to setting up an efficiently product photography studio producing high-quality product images, fast: 1) equipment you use; 2) people you hire; 3) workflows you deploy; 4) software you use; and 5) how[...]