6 Tips That Will Increase Your Photo Studio Production

Increasing your photo studio production benefits your business in 3 ways:

  1. Your cost per image decreases
  2. Your sales increase
  3. Your product returns decrease

Below are 5 tips that will help you increase your photo studio production.

Tip #1: Maximize your photo studio work space

It is very difficult to be productive working in a cramped photo studio space. When you are planning your product photography studio make sure you have more than enough space.

Here is what I do when I am planning a photo studio for a client – I sketch out the ideal studio space, calculate the square footage, and double it. I do this for 2 reasons 1) you don’t get what you don’t ask for, and 2) more studio space equals more production.

The factors below impact the space required for your product photography photo studio:

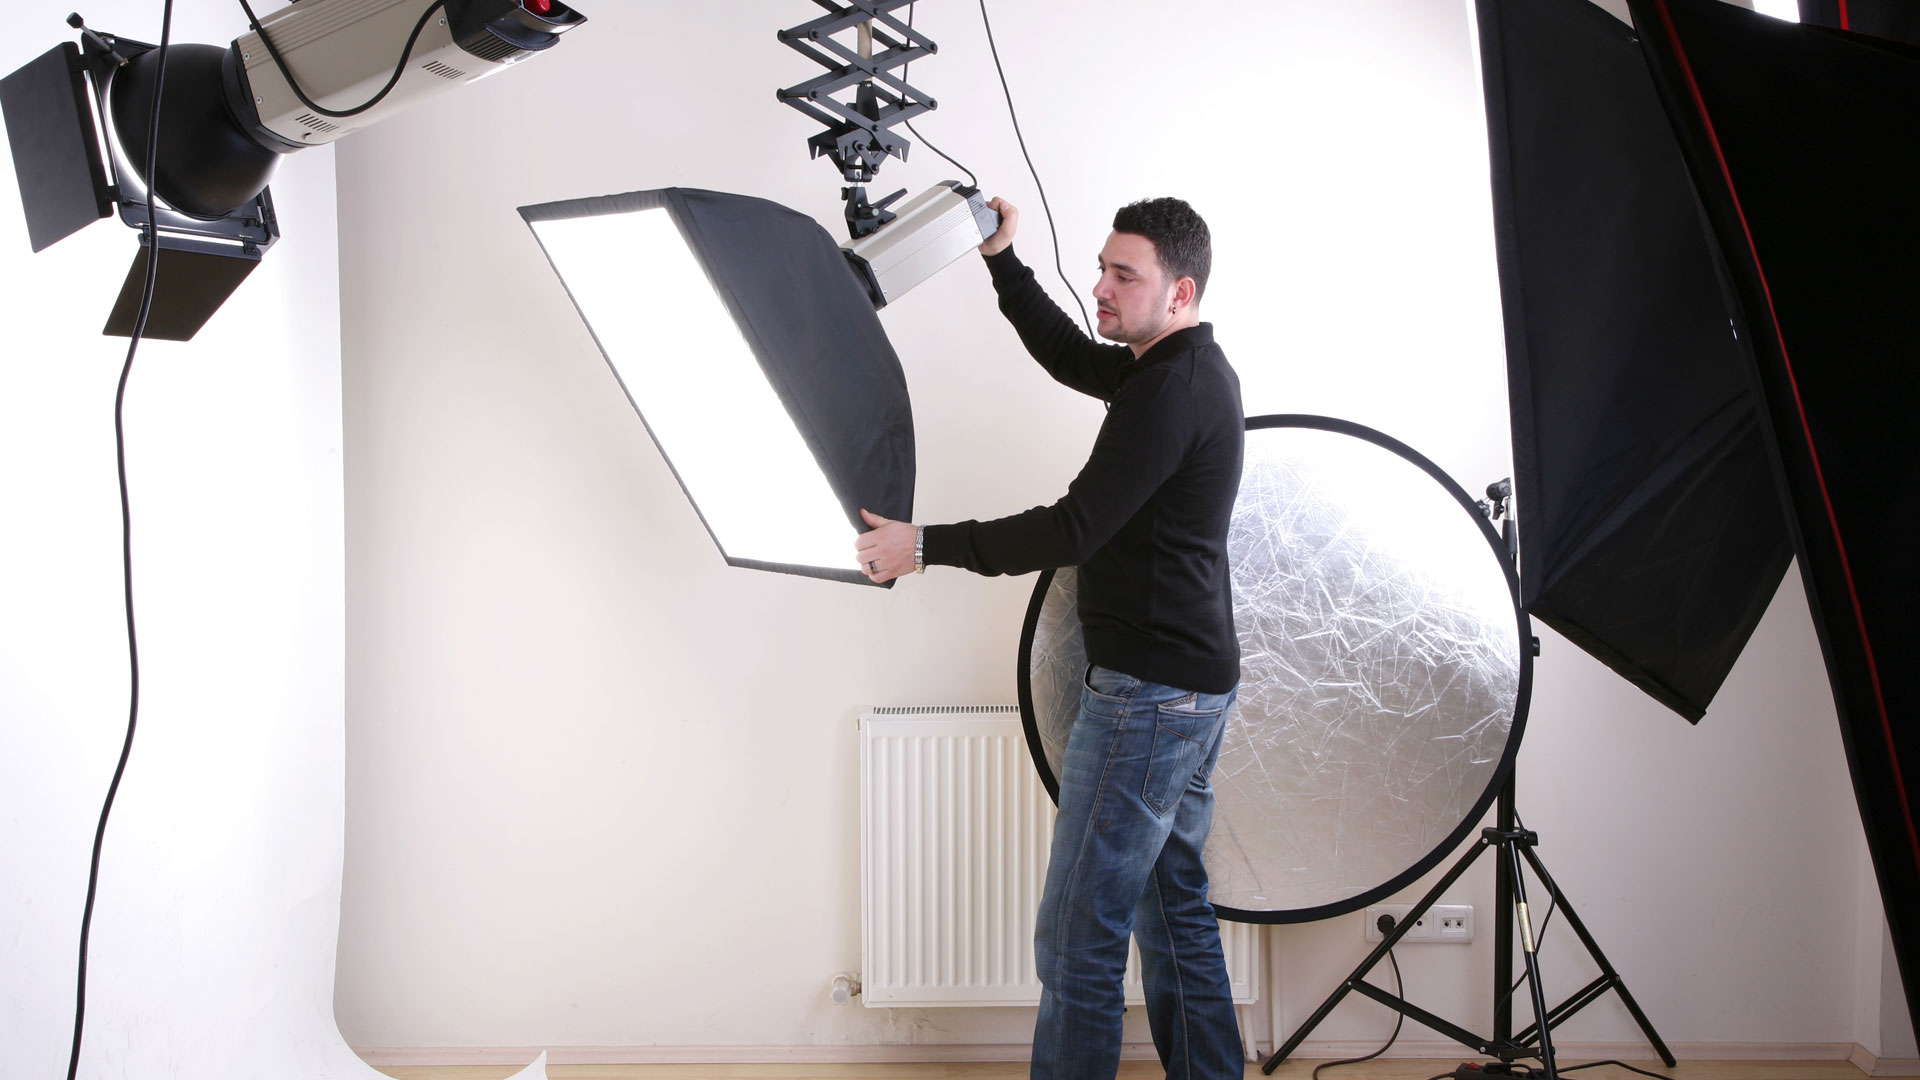
  • Photography equipment: The equipment you will be using affects the space required. Consider: photography table (the size you need will depend on the size of your products), lighting (continuous vs. strobe, number of lights and stands), backdrops, and specialized equipment (if taking rotating or 360 shots).
  • Product preparation: Almost all products require preparation before they are photographed. Consider: product size, product packaging, cleaning, and assembly.
  • Product staging: For productive product photography you need an efficient workflow for staging products to be photographed and products that have been photographed. Consider: product size, order size restrictions, and product return policies.

Below is an example of the space required for a photo studio involving average sized products and an 8’ x 4’ photography table:

  • Photography equipment – space required 15’ x 15’ (225 square feet)
  • Product preparation – space required 15’ x 15’ (225 square feet)
  • Product staging – space required 20’ x 10’ (200 square feet)
  • Minimum square footage 650 square feet
  • Ideal square footage (minimum doubled) 1,300 square feet

Tip #2: Hire and train photo studio photographer helpers

Photographer helpers have a significant impact on the productivity of the photo studio. The most expensive resource at the studio is the photographer. The more time they spend photographing products the better. If they are waiting for the helper to clean, assemble, or otherwise prepare the product for photography, production is lost.

Hire photographer helpers with the following skills:

  • Product knowledge: This is not a requirement but nice to have when it comes to preparing products for the photographer.
  • Organized: The helper must be organized. They are responsible for: sorting products by category; preparing products for the photographer; making sure the product number is obvious to the photographer; and repacking photographed products before placing them in the ‘return-to-inventory’ staging area. The helper needs to do all this without the photographer ever being idle – not as simple as it sounds.
  • Fast worker: The helper must have the capacity to work quickly on multiple tasks throughout the day.
  • Good communicator: The photographer and helper are communicating constantly about product specifics, workflow, and photo studio issues. The helper’s communication skills are very important when it comes to production.

Tip #3: Develop efficient photo studio workflows

Efficient workflows are critical. There are 3 workflows that will help increase production significantly.

1. Ordering and returning products

Whenever possible, schedule products to be delivered to the studio by category. This allows the photographer to shoot often hundreds of similar products in a row without adjusting the camera and / or lights.

It is best to return products to inventory as soon as the complete order has been photographed. This maximizes the photo studio space for staging and photographing products – less clutter equals more production.

2. Flow of product between helper and photographer

Below is an efficient workflow from the helper to the photographer:

  • While the photographer is shooting a product the helper is preparing the next product
  • When the photographer is finished shooting a product they hand it to the helper
  • The helper hands the next product to the photographer
  • The photographer begins to photograph the product
  • The helper packages up the photographed product and places it in the ‘return-to-inventory’ area
  • The helper prepares the next product for photography

3. Recording product numbers and image views as they are photographed

Anyone who has been involved in production product photography knows that manually recording product numbers and image views into a spreadsheet or database is time consuming and error-prone.

Below are 2 things that help organize this process:

Use UPCs: Being able to scan UPCs instead of manually entering product numbers into a spreadsheet or database saves the photographer time and frustration.

Define image views before photography: Production increases when the photographer and helper know which image views are required for each product category before photography.

Take for instance a product category that requires 2 image views, a front view and a close-up view. These image views call for different camera and lighting setups. It would be very slow to shoot both views of the product one right after the other because it would involve changing the camera and lights for each view. Instead, because the photographer and helper know that this category requires 2 distinct views, they will shoot the products in batches – first take the front view of all products in the category, adjust the camera and lights, and then take all the close-up views of the products in the category. This involves changing the camera and lights only once for the entire category.

Tip #4: Use product photography workflow software

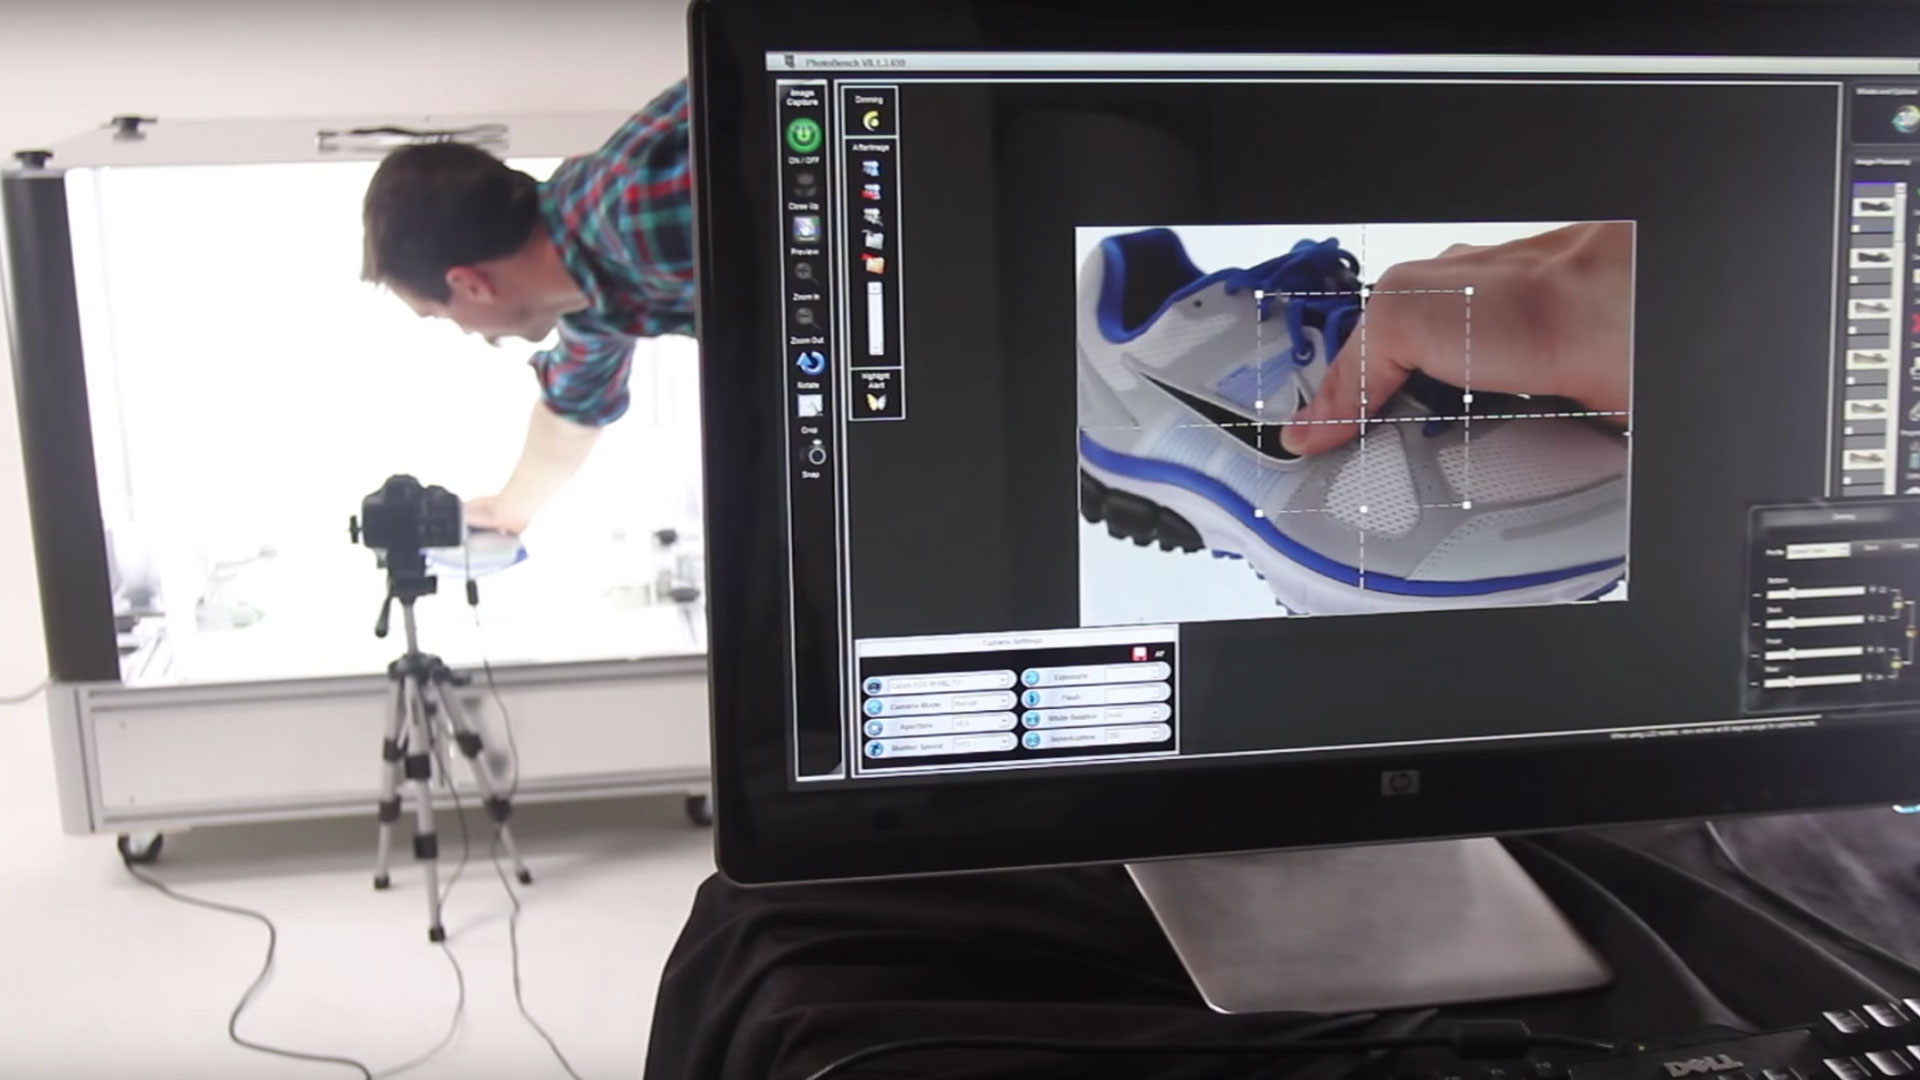
Product photography workflow software is designed to automate time-consuming functions performed by the photographer. The following tasks are automated by product photography workflow software:

  • Determining image views required – Image views are defined for each product category before photography begins and loaded into the software. When the photographer scans the UPC or enters the product number into the software the image views required for that product category will be displayed.
  • Associating images to products – Once images are captured, the software automatically copies them from the camera and associates them to their respective views and product numbers. The photographer does not rename any files or organize images in any way; the software takes care of these functions.
  • Recording images taken – Images taken by product, category and project are recorded in the software. The photographer can easily monitor the progress of the project without having to manually review cumbersome spreadsheets or databases.
  • Saving and backing up images – Images are automatically saved and backed up by the software. This task does not have to be done manually.
  • Uploading images to online system for editing – Images are uploaded once they are taken to an online image production management system making them available immediately for editing. Without this software, photographers either edit images themselves or transfer them manually to an FTP server.

Tip #5: Use effective product photography lighting techniques

Experienced product photographers know how to adjust their lights quickly from product to product and image to image. Less lighting adjustments equals more product photography production.

Photographers that are good at lighting also know how to light products from all angles – top, sides, and bottom. Images that are captured using the correct lighting have minimal shadows and are much faster to edit.

Tip #6: Minimize the time between photography and image QA

You may be wondering why it is so important to minimize the time between photography and image QA. The reason is reshoots. Here is how it works:

  • Product images are captured at the photo studio and uploaded to the image production management system
  • Editors access the image production management system to edit images
  • Once the images are edited they are available for image review and QA
  • Images are QAed, those that meet quality standards are approved, those that do not are either sent back for re-editing or sent back to the photographer for reshooting
  • The photography workflow management software at the photo studio updates with the image production management system notifying the photographer that there are reshoots
  • The photographer helper pulls the products from the ‘photographed’ area (assuming the products have not been returned to inventory) and gets them ready for the photographer

You can see from this workflow that if the time between photography and image QA is short the products that require reshooting would not be returned to inventory and therefore available for photography.

How are you doing with your photo studio production?

We would love to hear from you, please share your thoughts by adding a comment below.

Patrick Weilmerier
Patrick Weilmeier
Patrick leads Visual SKUs marketing activities and is focused on understanding customer needs, aligning with sales to generate opportunities, expanding markets, and growing revenue.

Get High-quality Images of Your Products - Learn About Our Pricing

Get Pricing Now
  • Blog Subscription - Blog

    Your Privacy is Important to Us