10 Components of Successful Product Photography Projects

Clients are always surprised when I describe to them the components involved in successful product photography projects. From my experience, when businesses plan their product photography projects, they tend to oversimplify the process which often results in low production, poor image quality and high per image costs.

To make your first or next product photography project a success, consider these 10 components:

  1. Experienced product photographers
  2. Quality product photography equipment
  3. Sufficient workspace for equipment, people and products
  4. Accurate product lists
  5. Workflows for ordering, prepping, photographing and returning products
  6. Systems for recording product images as they are captured
  7. Efficient workflows for editing product images
  8. QA processes to ensure images meet quality standards
  9. Workflows for formatting and distributing images
  10. Systems for project management and reporting

How do you define product photography “success”?

Before we get into the components of successful product photography projects, let me define what I believe “success” looks like.

I like to measure the success of a project on 3 metrics:

  • Production rates: The number of images produced daily. Image production requirements are influenced by many factors including time to market, internal deadlines and budget.
  • Cost per image: The average cost of producing each image. There is a cost associated to producing each and every image regardless of whether it is image number 1 or 10,000. The most efficient way to budget product photography projects is by the image.
  • Image quality: All product imaging projects have an image quality standard that must be met, images that do not meet this standard will be rejected and either re-edited or re-photographed. The percentage of images produced that meet this quality standard is the metric I use. Keep this in mind when considering your image quality standards. Product images serve 2 main purposes: 1) to reduce product returns by helping the customer buy the right product and 2) to sell more products. In both cases, image quality really matters.

The ‘Success’ bottom line: A successful product photography project exceeds daily production targets, cost per image is at or below budgets, and a high percentage of images – greater than 98% – meet your quality standards.

The 10 components of successful product photography projects

Below are 10 most important components to any successful product photography project:

1. Experienced product photographers

Not just any good photographer will do for your product photography project; the photography must be by an experienced product photographer. These photographers have the following critical skills:

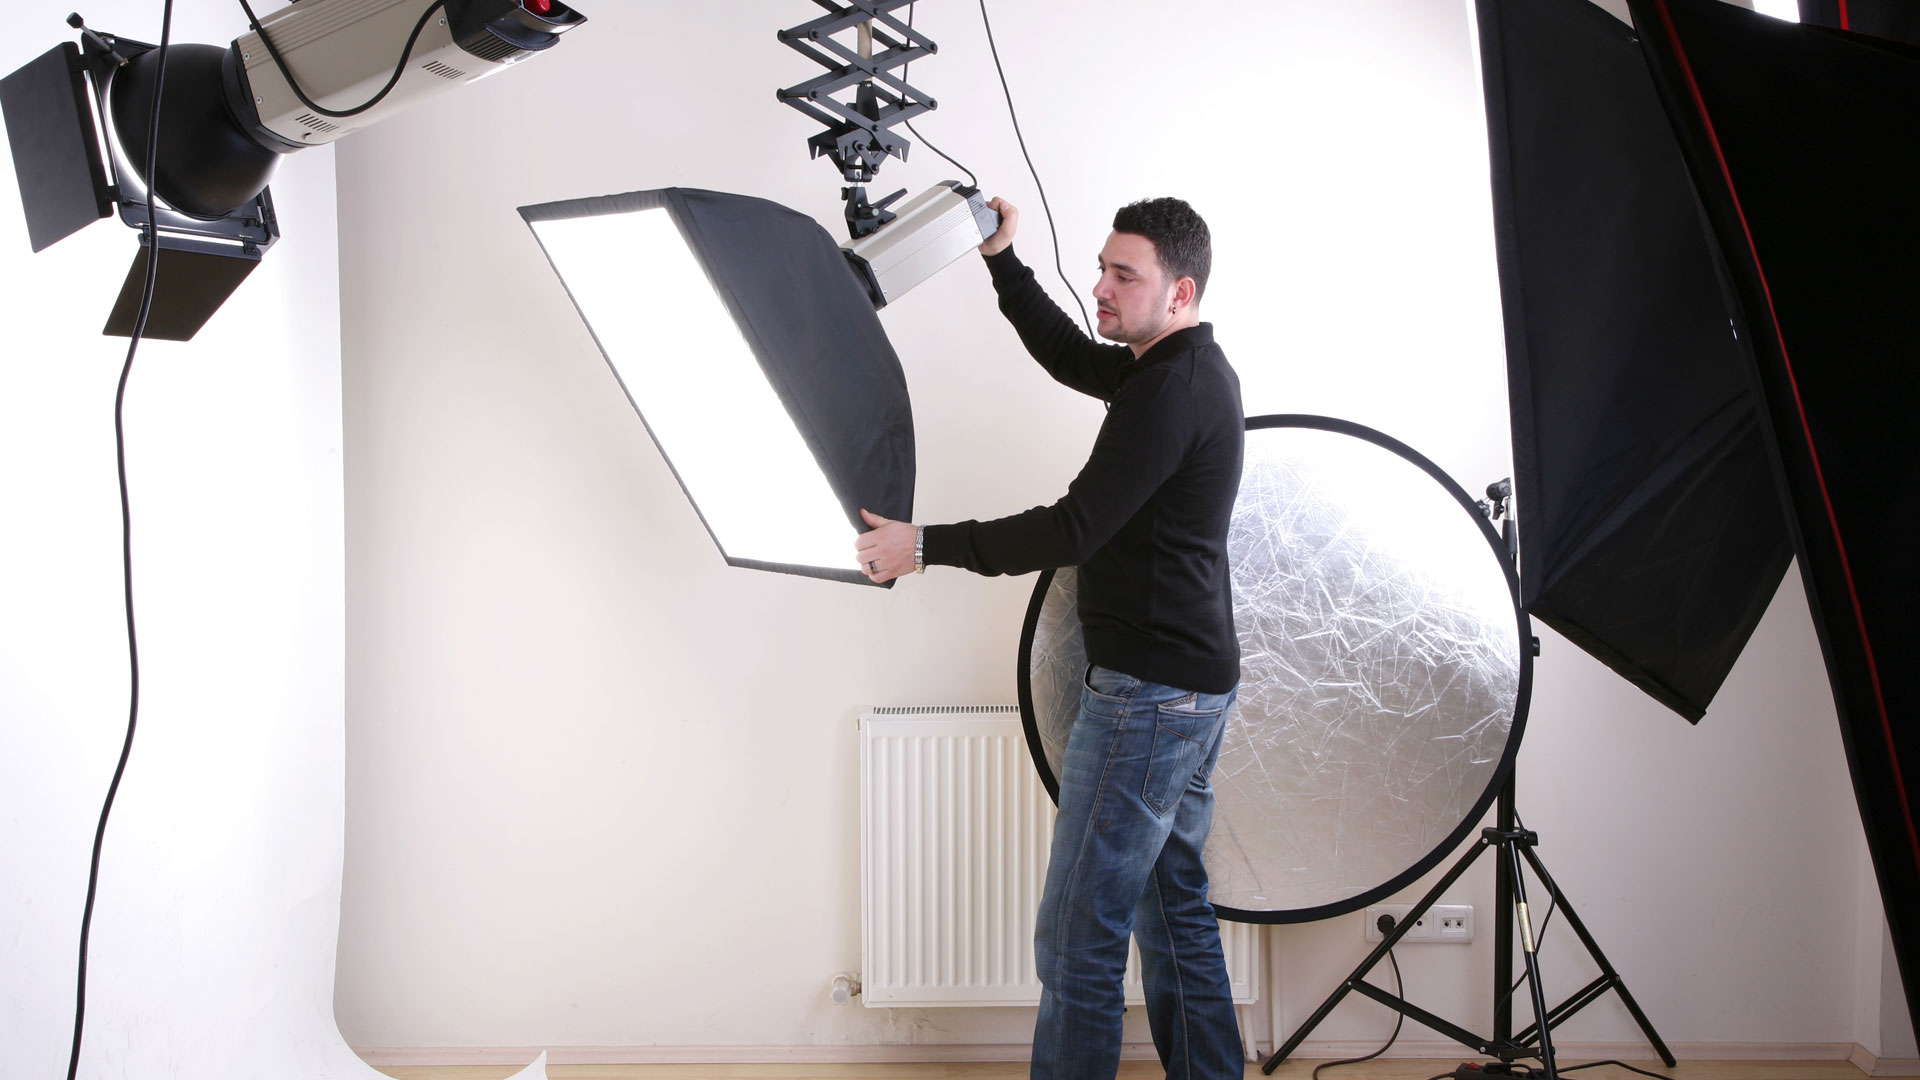
  • Product lighting: The key skills here are lighting the product using strobe or continuous lights 1) for the best image quality, and 2) for production. Lighting has a huge effect on production and quality – if you use a photographer that does not have product lighting experience you will likely be disappointed with the image quality and the daily production rates.
  • Production minded: I have worked with many photographers over the years and what I have found is some are able to work quickly and efficiently whereas others simply cannot get out of the ‘creative mindset’ and balance production with quality. Experienced product photographers understand the creative / quality / production balance and are able to produce quality images quickly.
  • Product photography equipment: Product photographers are used to working with still photography equipment – table tops, camera stands, strobe and continuous lights etc. – and often in limited spaces like a corner of a distribution center or retail store.

2. Quality product photography equipment

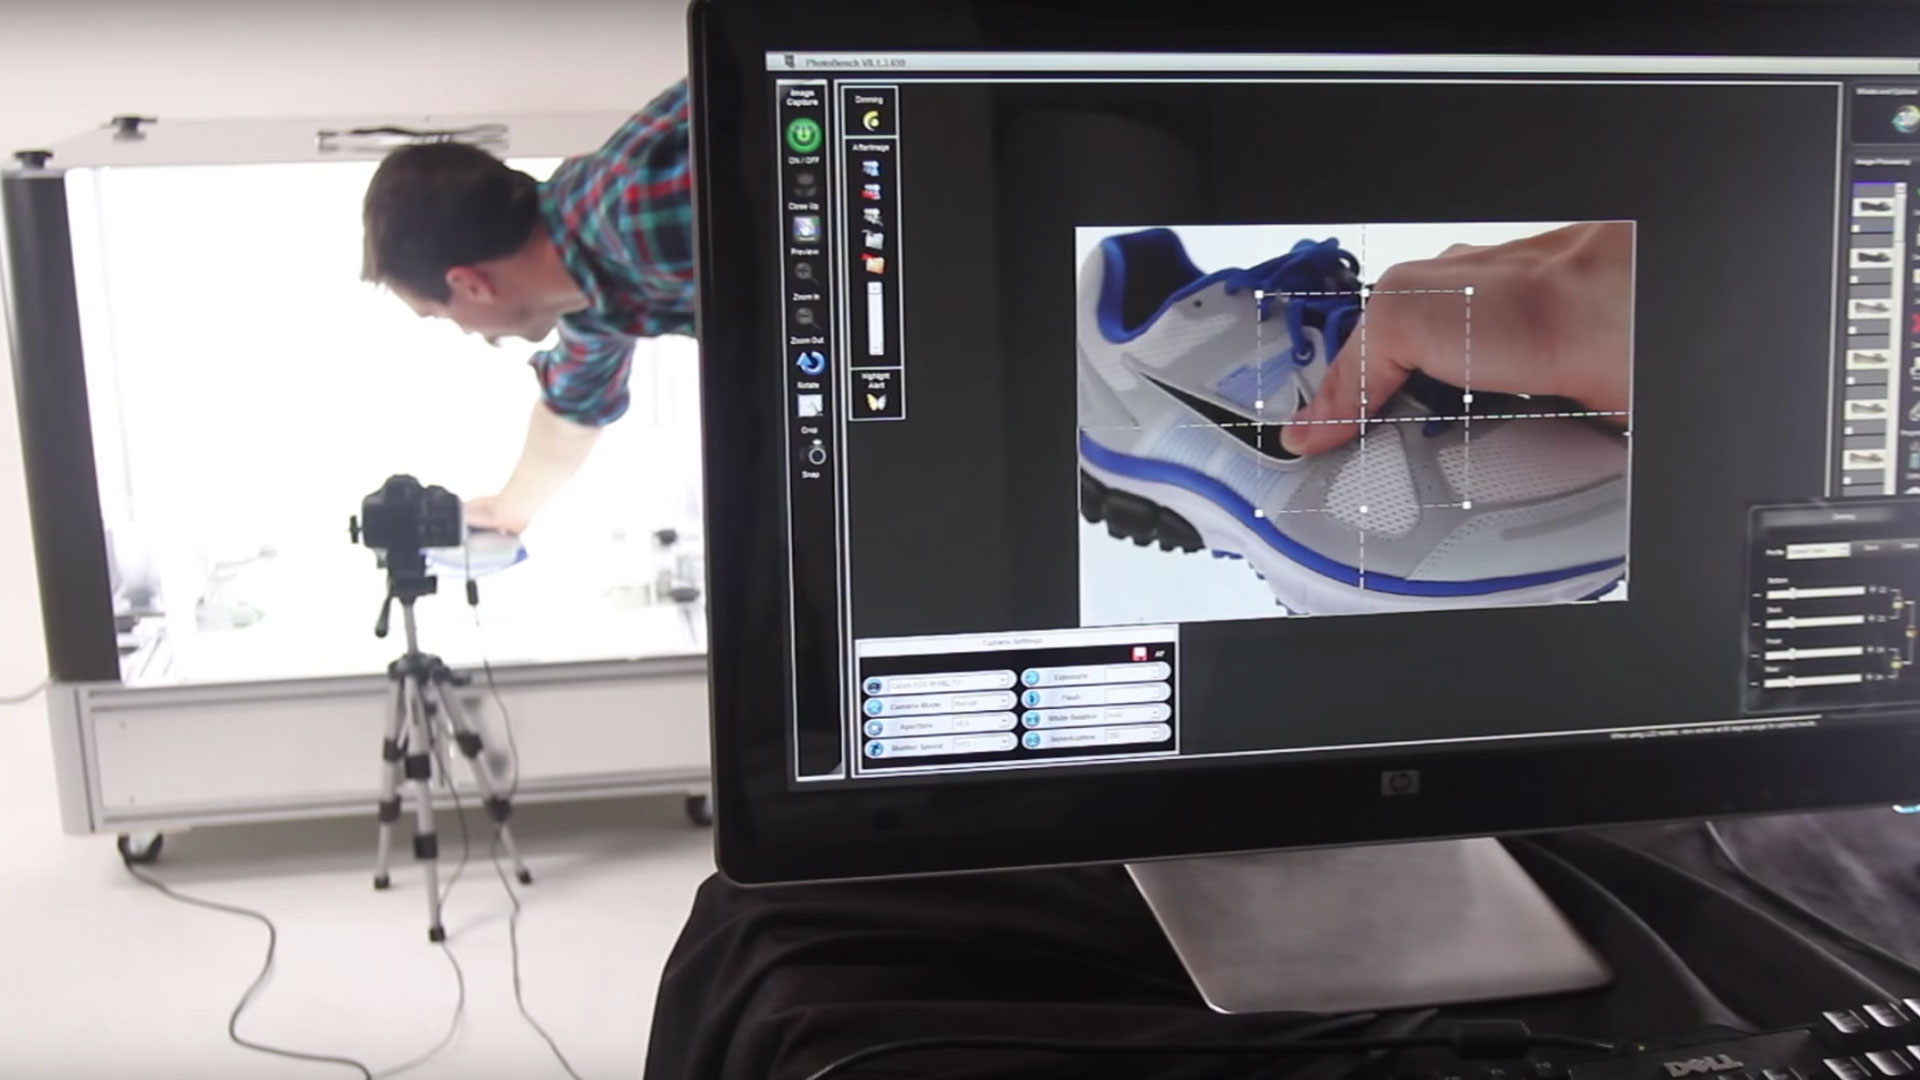
You do not need to purchase the best product photography equipment on the market but it should be sufficient to produce high-volume, high-quality product images. This equipment includes transparent or translucent photography tables, backdrops with stands, camera stands, strobe or continuous lights with stands, consumer, semi-pro or pro digital SLR cameras, laptops tethered to the camera, and barcode scanners (for products that have UPCs).

3. Sufficient workspace for equipment, people, and products

Most product imaging projects take place in a warehouse, distribution center, store, office, or photographer’s studio. The size of the space can have a significant impact on production rates. In general, the more space the better. Factors that affect the space your project requires include:

  • The number of products that can be ordered from and returned to inventory at one time
  • The frequency that products can be ordered from and returned to inventory at one time
  • The number of photographers on the project
  • The size and weight of your products
  • The extent products need to be unpacked, cleaned and / assembled prior to photography
  • The extent your products need to be repackaged after photography

4. Accurate product lists

In order for the photographer to be productive, they need to have accurate product lists. These product lists need to be aligned with the product number on the package so that the photographer is able to quickly match the product he or she has in their hand with a product number on the list. Inaccurate product lists can waste an incredible amount of the photographer’s time as they try to puzzle through part numbers and UPCs on packages versus those on lists.

5. Workflows for ordering, prepping, photographing and returning products

Product imaging projects are as much about logistics and organization as they are about actual photography. Efficient workflows are critical especially when it comes to ordering products from inventory, preparing products for the photographer (usually done by a photography assistant), photographing the product and returning the products to inventory. If the logistics and organizational components of a product photography project are not well planned you could find your photographer spending 80% of their time dealing with these issues and not taking images of your products.

6. Systems for recording product images as they are captured

The tasks related to renaming images once they are captured by the photographer, managing which products need specific image views (front, back, top etc.), and tracking which products have been imaged and which have not are hugely time-consuming. Image Production Management software automates these tasks enabling the photographer to focus on what they do best – capturing quality product images, quickly. Although for companies that are either not aware of these solutions or have their own in-house solution, the key is to manage these tasks as best you can – most companies use a series of product number and image view spreadsheets.

7. Efficient workflows for editing product images

Photography is only part of the overall product imaging process. Once the images are captured at the photography studio they need to be edited by imaging technicians. These technicians create clipping paths to remove the background, adjust levels and crop the image to remove excessive white space. For the image editing process to run smoothly, editors need access to the images once they have been photographed and they need a place to save them for quality assurance to do their review.

8. QA processes to ensure images meet quality standards

A recommended best practice is to review all images once they have been edited to ensure they meet your quality standards as well as the standards of your customers (important if you are a manufacturer and sending images to your customers / resellers). The QA team will review edited images and approve the ones that meet the standards and reject the ones that do not. Without proper workflows, the QA and image editing process will be slow and poor quality images will go unnoticed until it is too late.

9. Workflows for formatting and distributing images

Once products have been photographed and images have been edited and meet quality assurance standards, they need to be formatted according to the specifications set out by your internal departments – marketing, cataloging, e-commerce – and your customers. It is not uncommon for large manufacturers to format their images for more than 50 customers. Again, image formatting and distribution can be very time-consuming without efficient workflows and tools.

10. Systems for project management and reporting

Most large scale imaging projects have several stakeholders that require access to progress reports, image downloading and various project management functions e.g. product list management, QA, image editing, image formatting. Systems that provide easy access to project management and reporting functions are important for project success.

* Subscribe to the Blog
* Request Pricing
* The 10 Biggest Mistakes Businesses Make With Their Product Photography

Make Your Next Product Imaging Project a Success

As you can see, there are many factors that affect the success of your product photography project. Consider the impact of the components above and address each of them over time in order to maximize your image production, minimize your cost per image and produce high-quality product images.

Are you planning or involved in a product photography project? If so we would love to hear from you, please post a comment below and join the discussion.

Patrick Weilmerier
Patrick Weilmeier
Patrick leads Visual SKUs marketing activities and is focused on understanding customer needs, aligning with sales to generate opportunities, expanding markets, and growing revenue.

Get High-quality Images of Your Products - Learn About Our Pricing

Get Pricing Now
  • Blog Subscription - Blog

    Your Privacy is Important to Us