


360-Degree Product Photography – An Introduction to the Basics
By Patrick Weilmerier | Imaging Services
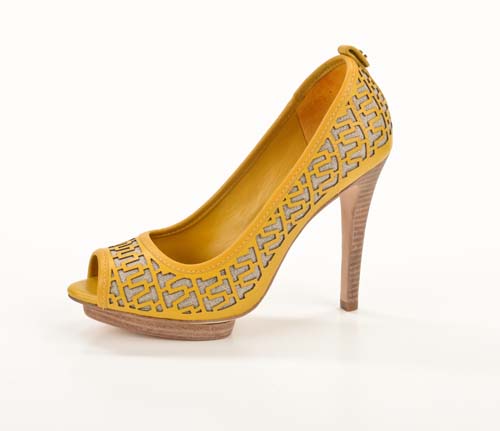
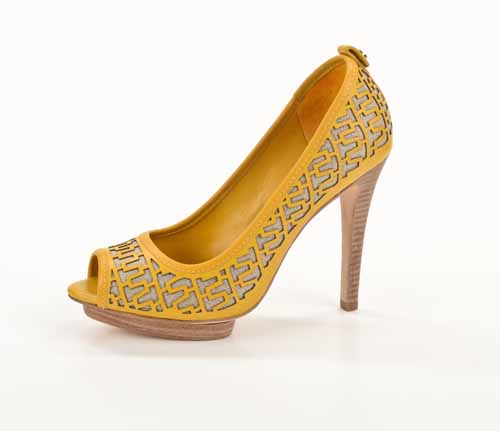
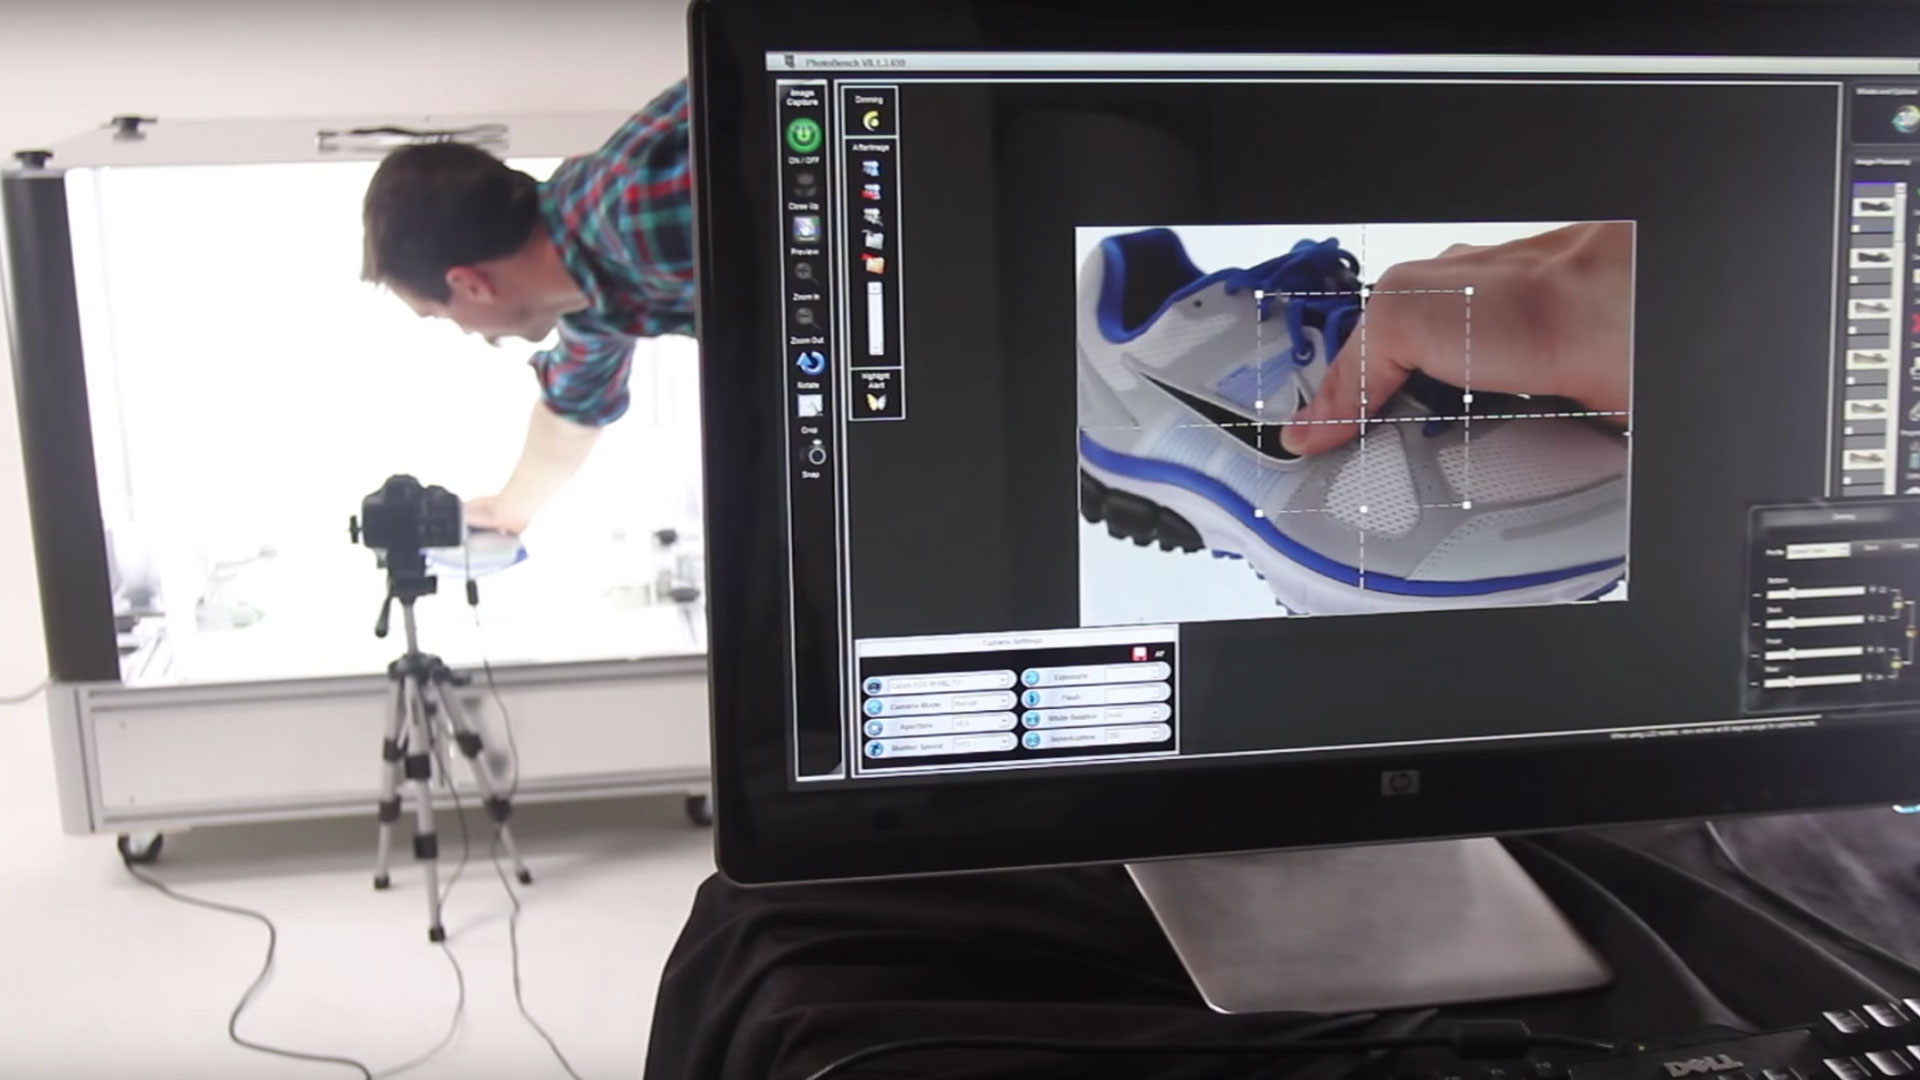
Are you wondering if 360 images are right for your business? This article offers an introduction into 360 images including how they differ from still images, which image type is best, what makes up 360 images, how do product[...]